简介 Velero 是一款可以安全的备份、恢复和迁移 Kubernetes 集群资源和持久卷等资源的备份恢复软件。
Velero 实现的 kubernetes 资源备份能力,可以轻松实现 Kubernetes 集群的数据备份和恢复、复制 kubernetes 集群资源到其他 kubernetes 集群或者快速复制生产环境到测试环境等功能,这种备份就类似于把资源的 yaml 文件进行整体备份,从而保障资源的完整性。
Velero 对存储的支持较好,可以支持很多种存储资源,比如 AWS S3、Azure Blob、Google Cloud Storage、Alibaba Cloud OSS、Swift、MinIO 等等. velero supported-providers
部署MinIO
因为我们要保证存储和集群隔离,这样能保证在集群出问题的时候,不影响备份,所以就将 MinIO 部署在其他服务器上,与 Kubernetes 环境隔离。避免因意外情况宕机的时候影响更多。
mkdir -pv /data/{minio,config}
docker pull minio/minio
docker pull minio/mc:latest

docker run -d -p 9000:9000 -p 9090:9090 \
 --name=minio --restart=always \
 -e "MINIO_ROOT_USER=admin" \
 -e "MINIO_ROOT_PASSWORD=Admin@9876" \
 -v /data/minio/data:/data \
 -v /data/minio/config:/root/.minio \
 minio/minio server /data --console-address ":9090" --address ":9000"
注意,mc 使用的是 api 端口,并不是 console 界面端口,所以 mc 在授权的时候需要使用 API 端口。
[root@harbor ~]# docker logs minio
Status:         1 Online, 0 Offline.
API: http://172.17.0.2:9000  http://127.0.0.1:9000
Console: http://172.17.0.2:9090 http://127.0.0.1:9090
minio授权
docker run -it --entrypoint=/bin/sh -v /data/minio/config:/root/.minio minio/mc

mc config host add velero http://192.168.10.228:9000 admin Admin@9876 --api S3v4
mc mb -p velero/velero
创建密钥
cat > credentials-velero <<EOF
[default]
aws_access_key_id = admin
aws_secret_access_key = Admin@9876
EOF
登陆 http://ip:9000

## 部署Velero
安装k8s集群中,如master
```sh
wget https://github.com/vmware-tanzu/velero/releases/download/v1.9.3/velero-v1.9.0-linux-amd64.tar.gz
tar xf velero-v1.9.0-linux-amd64
cd velero-v1.9.0-linux-amd64
# 配置自动补全
cp velero /usr/local/bin/
echo 'source <(velero completion bash)' >> /etc/profile
source /etc/profile
https://velero.io/docs/v1.9/customize-installation/
k8s集群安装velero
velero install \
    --provider aws \
    --plugins velero/velero-plugin-for-aws:v1.2.1 \
    --bucket velero \
    --default-volumes-to-restic \
    --use-restic \
    --secret-file ./credentials-velero \
    --use-volume-snapshots=false \
    --backup-location-config region=minio,s3ForcePathStyle="true",s3Url=http://192.168.10.228:9000

# --bucket指定桶名
# --s3Url指定minio地址
# --secret-file是登录认证账号密码
# --default-volumes-to-restic是备份持久化的,如果不加这一个选项则每次备份需要备份持久化数据时需要加入--default-volumes-to-restic
有一个velero服务,restic服务在每个k8s节点上都会运行一个。
–use-restic
[root@master1 ~]# kubectl get pod -n velero
NAME                      READY   STATUS    RESTARTS   AGE
restic-2crgh              1/1     Running   0          63s
restic-f5p89              1/1     Running   0          63s
restic-hpb27              1/1     Running   0          63s
velero-66c7b8d889-jcv8w   1/1     Running   0          63s
velero命令
--exclude-namespaces stringArray                  # 剔除 namespace
--exclude-resources stringArray                   # 剔除资源类型如resource.group或storageclasses.storage.k8s.io
--include-cluster-resources optionalBool[=true]   # 包含集群资源类型
--include-namespaces stringArray                  # 包含 namespace (use '*' for all namespaces) (default *)
--include-resources stringArray                   # 包含 namespace 资源类型
--labels mapStringString                          # 给这个备份加上标签
-o, --output string                               # 输出格式如'json', and 'yaml'
-l, --selector labelSelector                      # 对指定标签的资源进行备份# 对 PV 创建快照
--snapshot-volumes optionalBool[=true]            # 持久卷快照
--storage-location string                         # 指定备份的位置
--ttl duration                                    # 备份数据多久删掉
--volume-snapshot-locations strings               # 指定快照的位置,也就是哪一个公有云驱动
备份测试
这里使用[nfs动态持久卷]进行测试(/post/nfs-provisioner/)
kubectl create namespace test-example

cat << EOF | kubectl apply -f -
kind: PersistentVolumeClaim
apiVersion: v1
metadata:
  name: test-claim
  namespace: test-example
spec:
  storageClassName: nfs-client
  accessModes:
    - ReadWriteMany
  resources:
    requests:
      storage: 1Mi
EOF

cat << EOF  | kubectl apply -f -
kind: Pod
apiVersion: v1
metadata:
  name: test-pod
  namespace: test-example
spec:
  containers:
  - name: test-pod
    image: busybox:1.28
    command:
      - "/bin/sh"
    args:
      - "-c"
      - "sleep 3600"
    volumeMounts:
      - name: nfs-pvc
        mountPath: "/mnt"
  restartPolicy: "Never"
  volumes:
    - name: nfs-pvc
      persistentVolumeClaim:
        claimName: test-claim
EOF
持久化数据用于测试
[root@master1 ~]# kubectl exec -it test-pod -n test-example -- sh
/ # echo "Hello is me!!!" > /mnt/my.txt
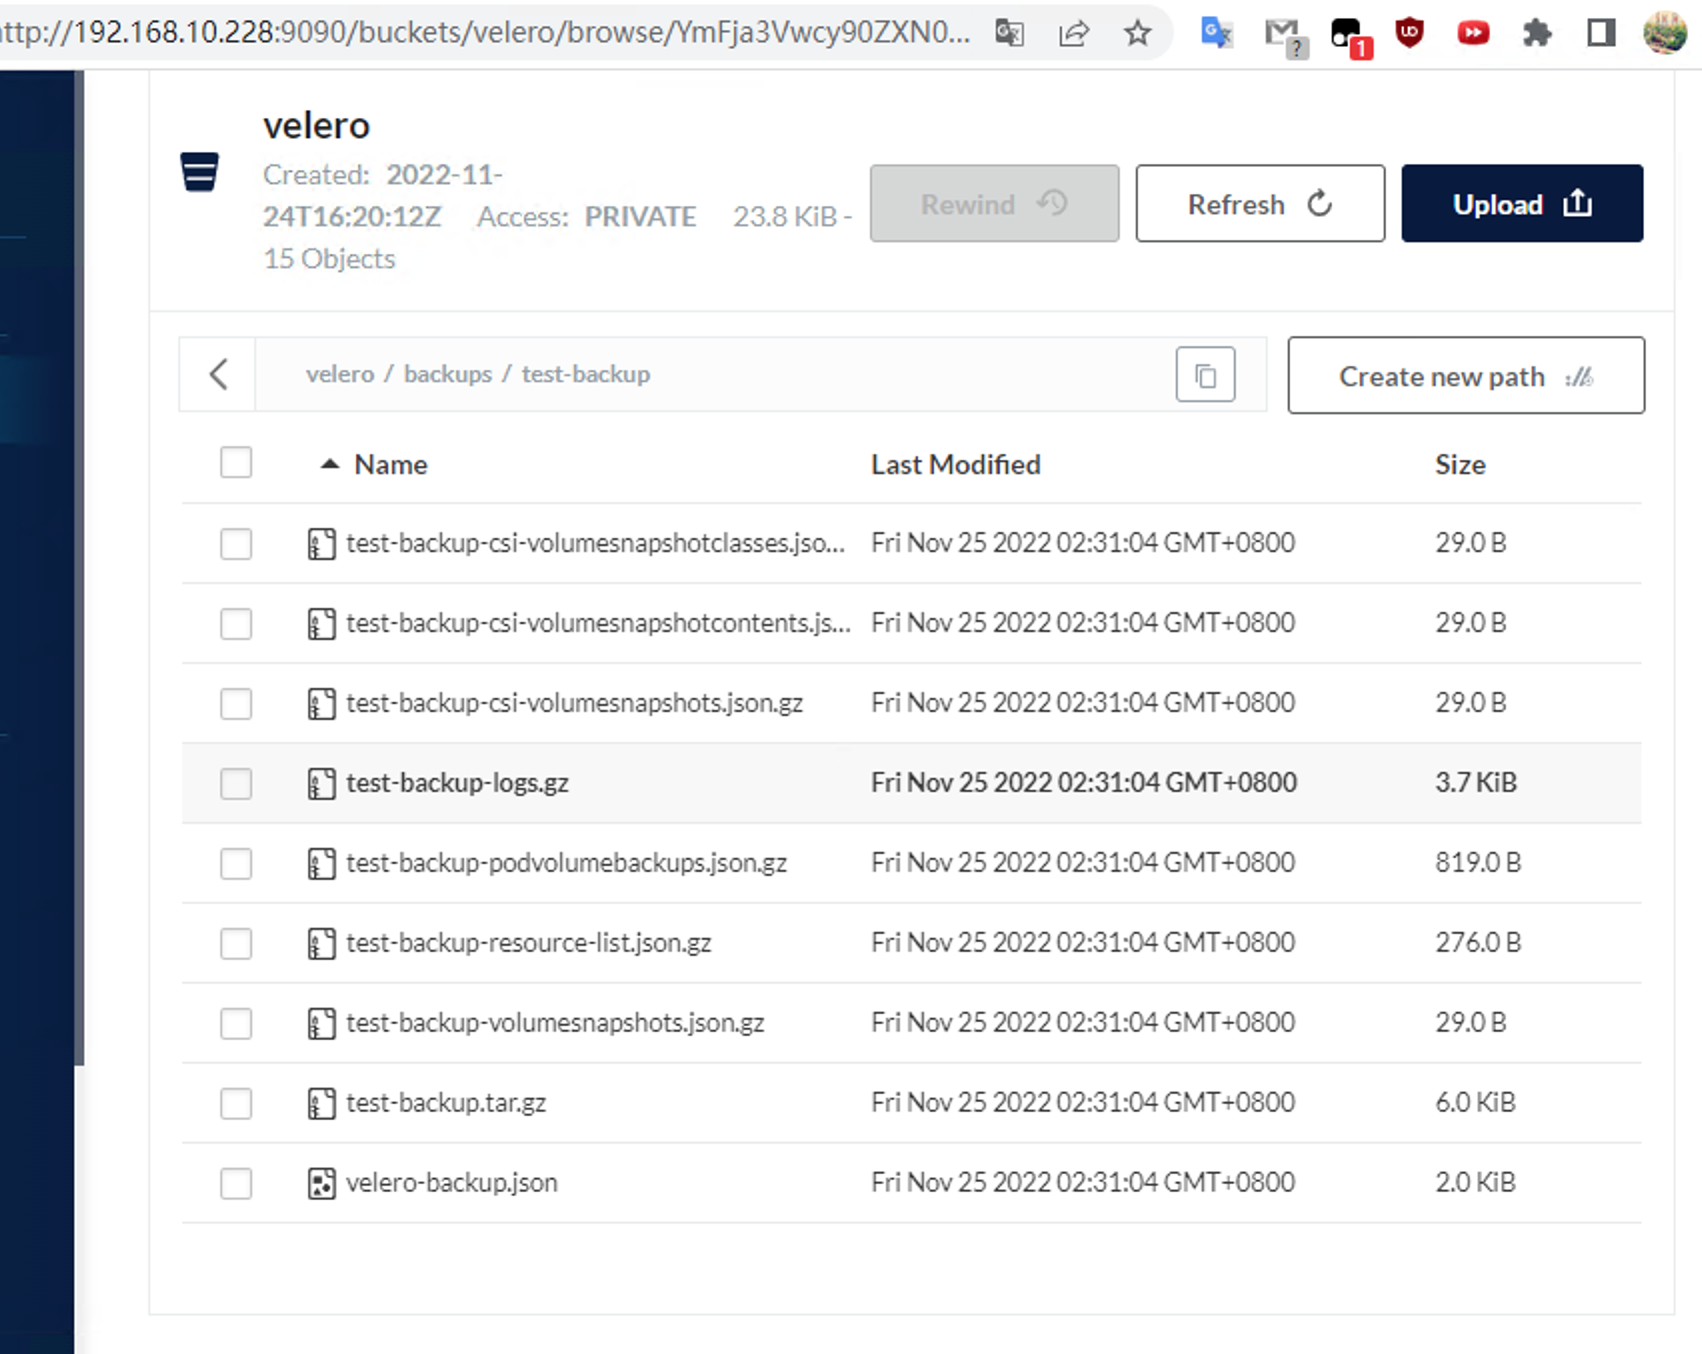
Velero备份
# 由于安装时已经加了--default-volumes-to-restic参数,这里不用再加
[root@master1 nginx-app]# velero backup create test-backup --include-namespaces test-example
Backup request "nginx-example-backup" submitted successfully.
Run `velero backup describe nginx-backup` or `velero backup logs nginx-backup` for more details.

# Completed 备份成功
[root@master1 ~]# velero get backup
NAME          STATUS      ERRORS   WARNINGS   CREATED                         EXPIRES   STORAGE LOCATION   SELECTOR
test-backup   Completed   0        0          2022-11-25 02:30:25 +0800 CST   29d       default            <none>
若失败可以使用此命令查看
[root@master1 nginx-app]# velero backup logs nginx-backup
An error occurred: request failed: <?xml version="1.0" encoding="UTF-8"?>
<Error><Code>SignatureDoesNotMatch</Code><Message>The request signature we calculated does not match the signature you provided. Check your key and signing method.</Message><Key>backups/nginx-backup/nginx-backup-logs.gz</Key><BucketName>velero</BucketName><Resource>/velero/backups/nginx-backup/nginx-backup-logs.gz</Resource><RequestId>172A911BF7B15CF1</RequestId><HostId>a2664d67-db18-4a06-91ed-f12f08aaa280</HostId></Error>

解决: 检查minio授权和创建密钥是否一致
恢复测试
删除 test-pod 和 pvc
kubectl delete pod test-pod -n test-example
kubectl delete pvc test-claim -n test-example
kubectl delete ns test-example
# 检测pv已删除
kubectl get pv
[root@master1 ~]# velero restore create --from-backup test-backup
Restore request "test-backup-20221125023644" submitted successfully.
Run `velero restore describe test-backup-20221125023644` or `velero restore logs test-backup-20221125023644` for more details.

[root@master1 ~]# velero restore get
NAME                         BACKUP        STATUS      STARTED                         COMPLETED                       ERRORS   WARNINGS   CREATED                         SELECTOR
test-backup-20221125023644   test-backup   Completed   2022-11-25 02:36:44 +0800 CST   2022-11-25 02:37:00 +0800 CST   0        0          2022-11-25 02:36:44 +0800 CST   <none>
检查持久化数据
[root@master1 ~]# kubectl get pod -n test-example
NAME       READY   STATUS    RESTARTS   AGE
test-pod   1/1     Running   0          2m24s

[root@master1 ~]# kubectl exec -it test-pod -n test-example -c test-pod --  cat /mnt/my.txt
Hello is me!!!
若是手动创建的pv就需要提前把pv给创建好,然后恢复即可
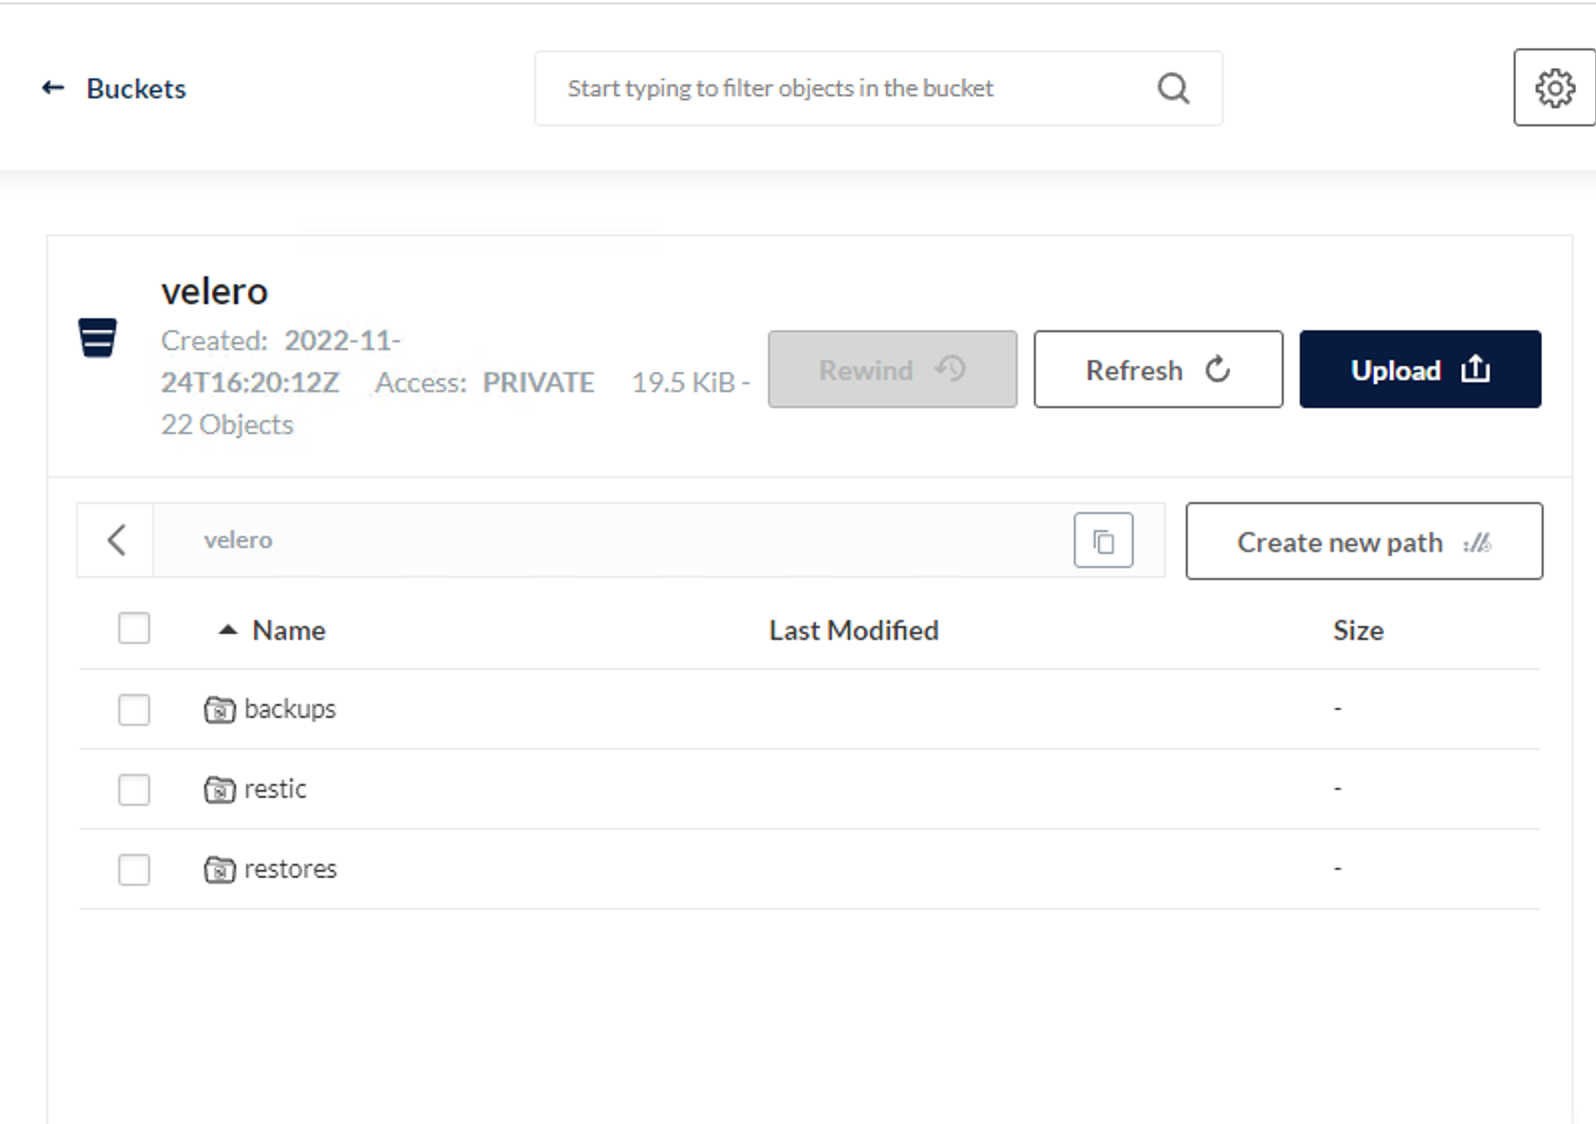
恢复会新建一个restores目录
目录注意: velero restore 恢复不会覆盖已有的资源,只恢复当前集群中不存在的资源。已有的资源不会回滚到之前的版本,如需要回滚,需在restore之前提前删除kubernetes集群现有的资源。
备份所有命名空间
velero backup logs k8s-all
定时备份
比较推荐做定时全量备份,这个能保证我们是一直全量最新备份的状态。
# 每天12点备份一次
velero create schedule k8s-all --schedule="0 0 * * *"
查看备份
velero  get  backup   #备份查看
velero  get  schedule #查看定时备份
velero  get  restore  #查看已有的恢复
velero  get  plugins  #查看插件
Kubernetes 集群备份工具 velero 使用指南
Velero(k8s备份工具) _